2.1K 
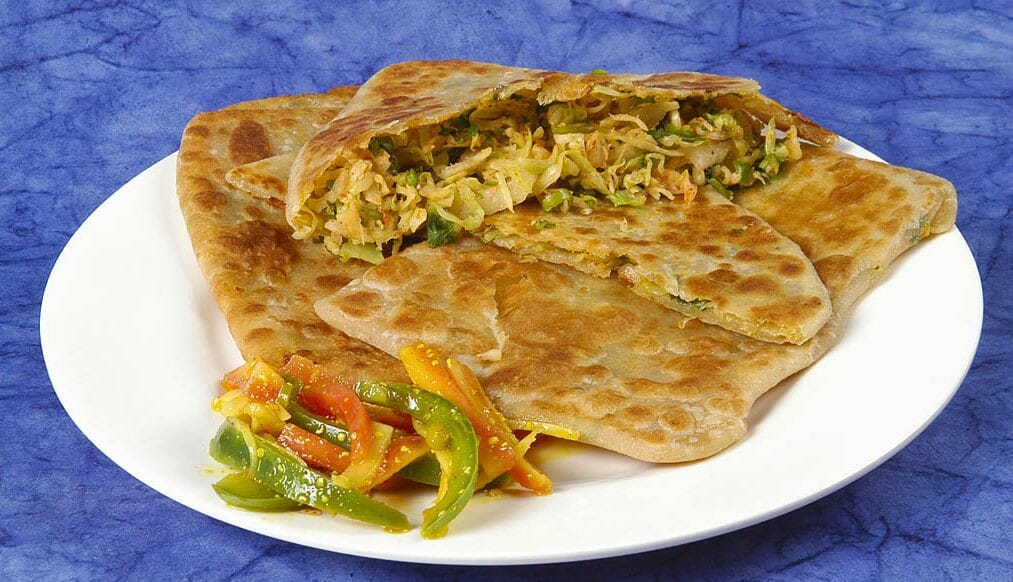
Crisp paratha stuffed with multiple vegetables
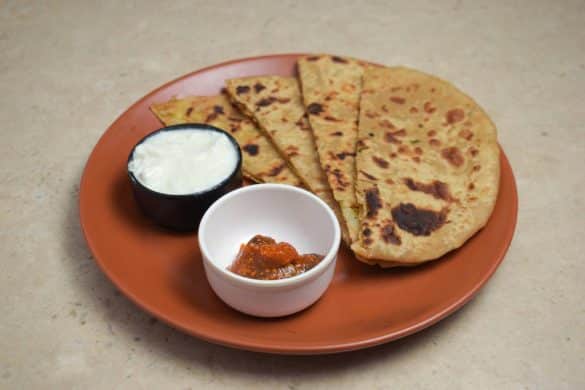
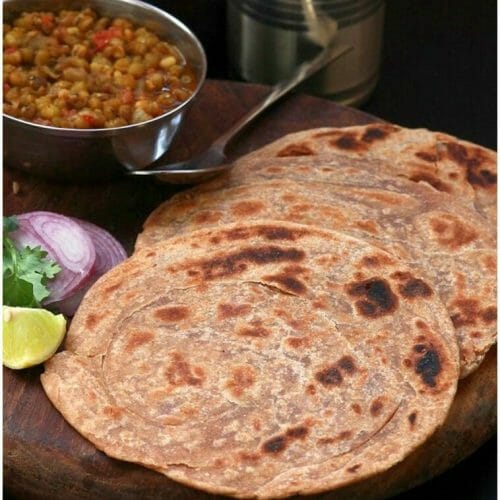
This is a healthy, delicious and nutritious paratha made with the goodness of fresh vegetables. Easy to make, they are great for office lunch (or school lunch) or can also be served at dinner with a side dish of choice or simply with curd and pickle.

Mixed Vegetable Paratha
Crisp paratha stuffed with multiple vegetables
Servings: 2 people
Ingredients
- 1 Cup Wheat Flour
- 1/4 Cup Tomato Puree
- Salt as per taste
- Water as required
- 1 tsp Oil
For the Filling:
- 1 Onion small
- 1 Potato small, boiled, peeled, chopped
- 1 Cup Mixed Vegetables chopped (beans, carrot, peas, cauliflower, capsicum)
- 3 tsp Peas shelled
- 3 tsp Paneer crumbled
- 1/4 tsp Red Chilli Powder
- 1/4 tsp Turmeric Powder
- 1/4 tsp Coriander Powder
- 1/4 tsp Garam Masala Powder
- Salt as per taste
- Coriander Leaves handful
For Tempering:
- 1/2 tbsp Oil
- 1/4 tsp Cumin Seeds
Instructions
- Combine the wheat flour, tomato puree, salt, water and oil in a bowl.
- Knead well to a pliable dough.
- Keep aside for 15 to 30 minutes.
- Heat oil in a pan over medium flame.
- Fry the cumin seeds for 10 seconds.
- Add the onions and saute for 45 seconds.
- Add the mixed vegetables, paneer, turmeric powder, red chilli powder, coriander leaves and cook for 5 minutes.
- Once the vegetables are cooked, add the potatoes.
- Add salt, garam masala powder and coriander leaves.
- Stir well and cook for a minute.
- Switch off the flame and allow it to cool.
- Make medium sized balls of the dough and shape it into a cup.
- Add some of the vegetable mixture and fold well.
- Roll it out into medium paratha.
- Heat a tawa over medium flame.
- Cook the paratha on both sides, adding oil around the edges.
- Remove and serve with side dish of choice.

